開發環境
- Windows 10 (home 20H2)
本文範例流程
- 以 Certbot 建立免費 TLS 憑證
- GCP 的 Cloud DNS 協助完成 DNS-01 挑戰 (可由其他 DNS 服務代替)
- 透過 openssl 工具轉換privkey.pem & cert.pem 成 .pfx檔 (IIS憑證檔)
- 匯入.pfx憑證檔 至 IIS
Certbot 建立TLS憑證
到 Certbot官網 下載certbot.exe
https://certbot.eff.org/lets-encrypt/windows-other
https://dl.eff.org/certbot-beta-installer-win32.exe安裝 & 以 CMD 方式執行 Certbot
產生裸網域憑證、子網域憑證
certbot certonly --manual -m testbingxiang01@gmail.com -d *.bingxiangtest.com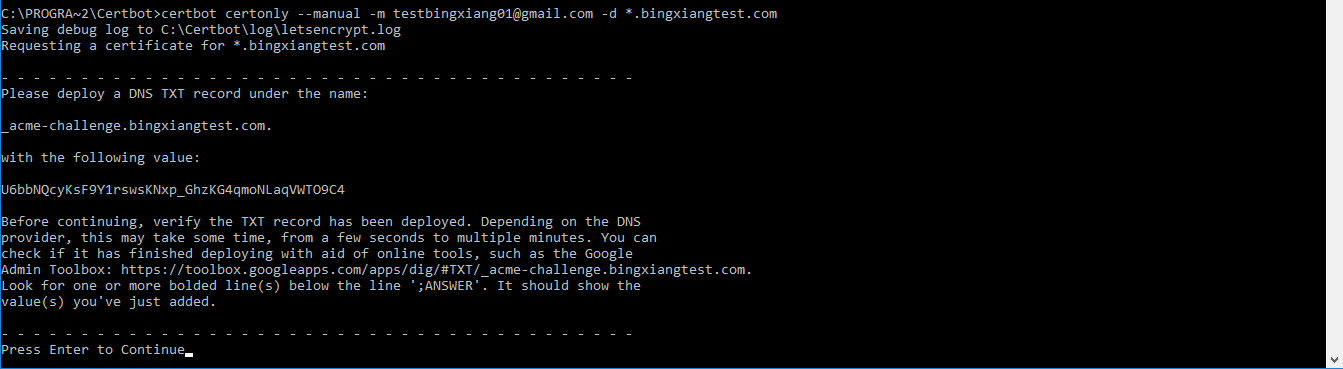
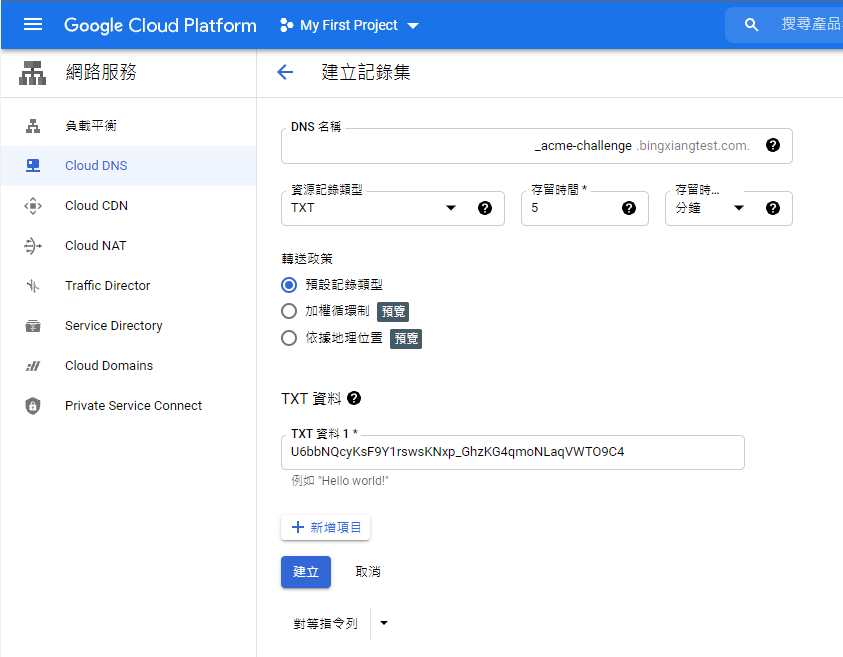
至GCP Cloud DNS 完成 DNS-01挑戰
成功後, 則自動下載憑證至目錄中
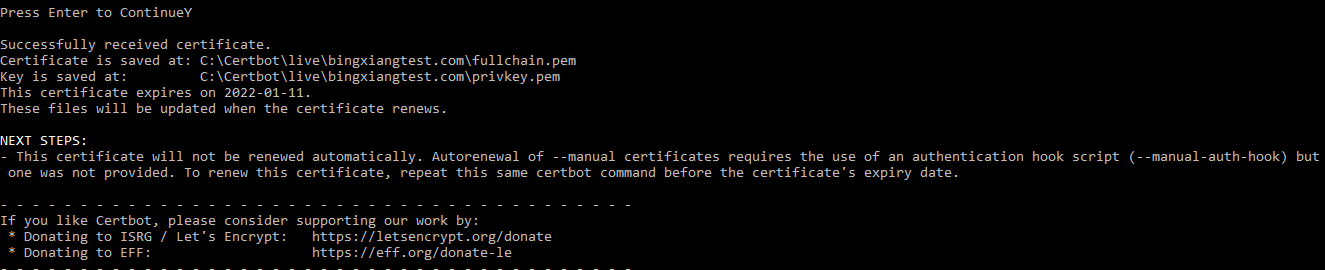
cert.pem : 主要的伺服器憑證
privkey.pem : 伺服器憑證的私密金鑰(private key)(注意:此憑證並未設定密碼)
chain.pem : 中繼憑證,有些網站伺服器會需要特別安裝(e.g. OCSP stapling in Nginx >=1.3.7)
fullchain.pem: 完整的憑證鏈,裡面包含所有憑證(伺服器憑證+中繼憑證)
建立 IIS用的 PFX 憑證
- 安裝 openssl 工具
可透過chocolatey安裝 較方便
# 安裝 chocolatey (以admin權限開啟powershell執行)
Set-ExecutionPolicy Bypass -Scope Process -Force;[System.Net.ServicePointManager]::SecurityProtocol = System.Net.ServicePointManager]::SecurityProtocol -bor 3072; iex ((New-Object System.Net.WebClient).DownloadString('https://community.chocolatey.org/install.ps1'))

# 安裝 openssl工具
choco install openssl
切換資料夾路徑至 剛剛使用 certbot 產憑證的資料夾
cd C:\Certbot\live\bingxiangtest.com創建 pfx憑證
openssl pkcs12 -export -out "certificate_combined.pfx" -inkey "privkey.pem" -in "cert.pem" -certfile "fullchain.pem" -password "pass:a123456"匯入 IIS 憑證 並綁定 web site
開啟IIS Server Certificates頁面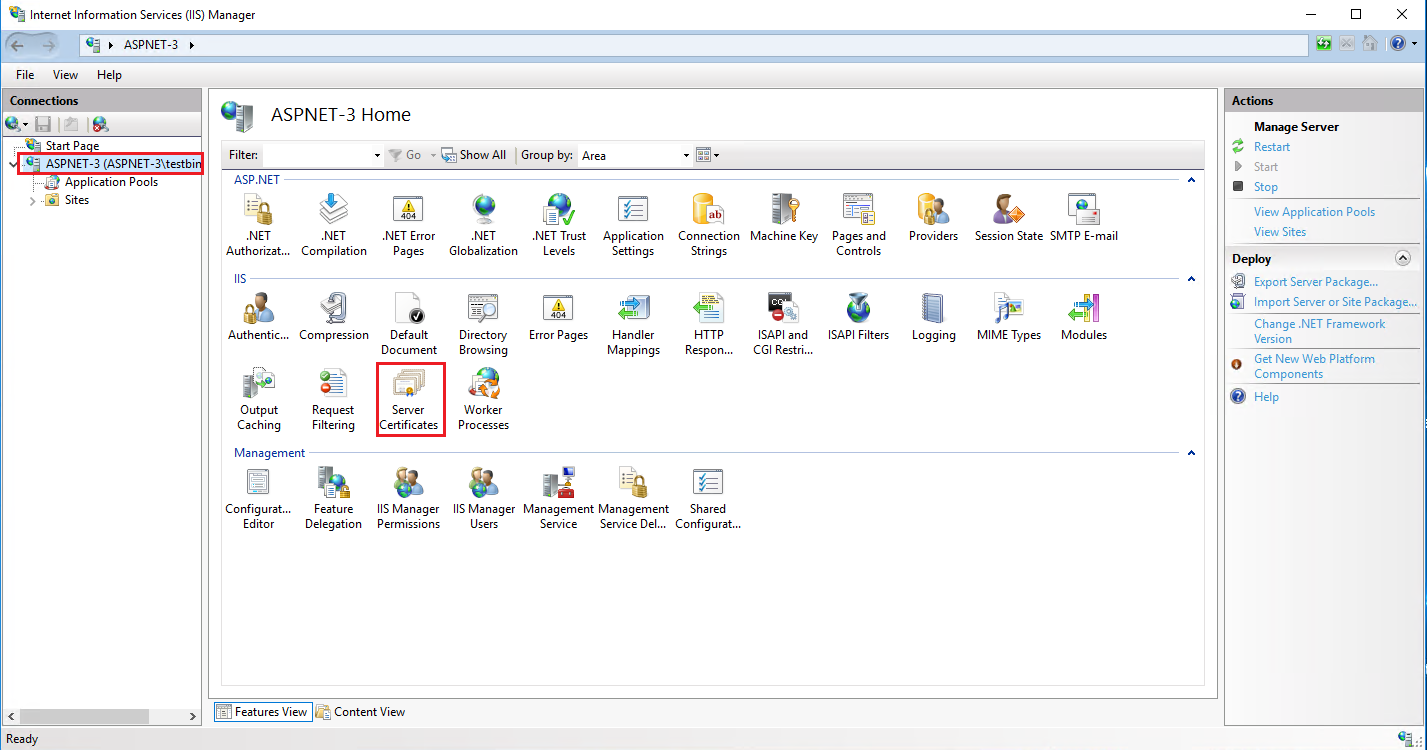
匯入剛剛建立的 pfx憑證 並輸入密碼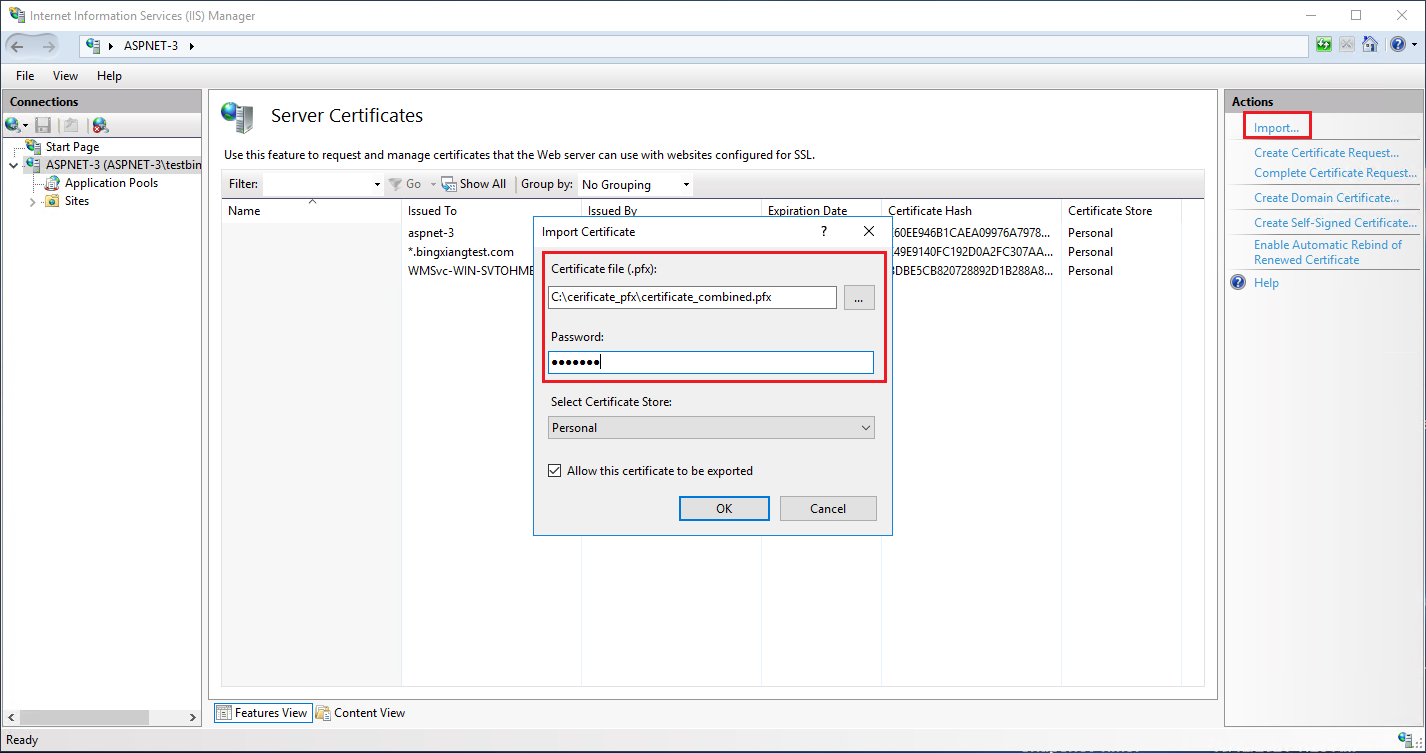
將Web Site 綁定 SSL 憑證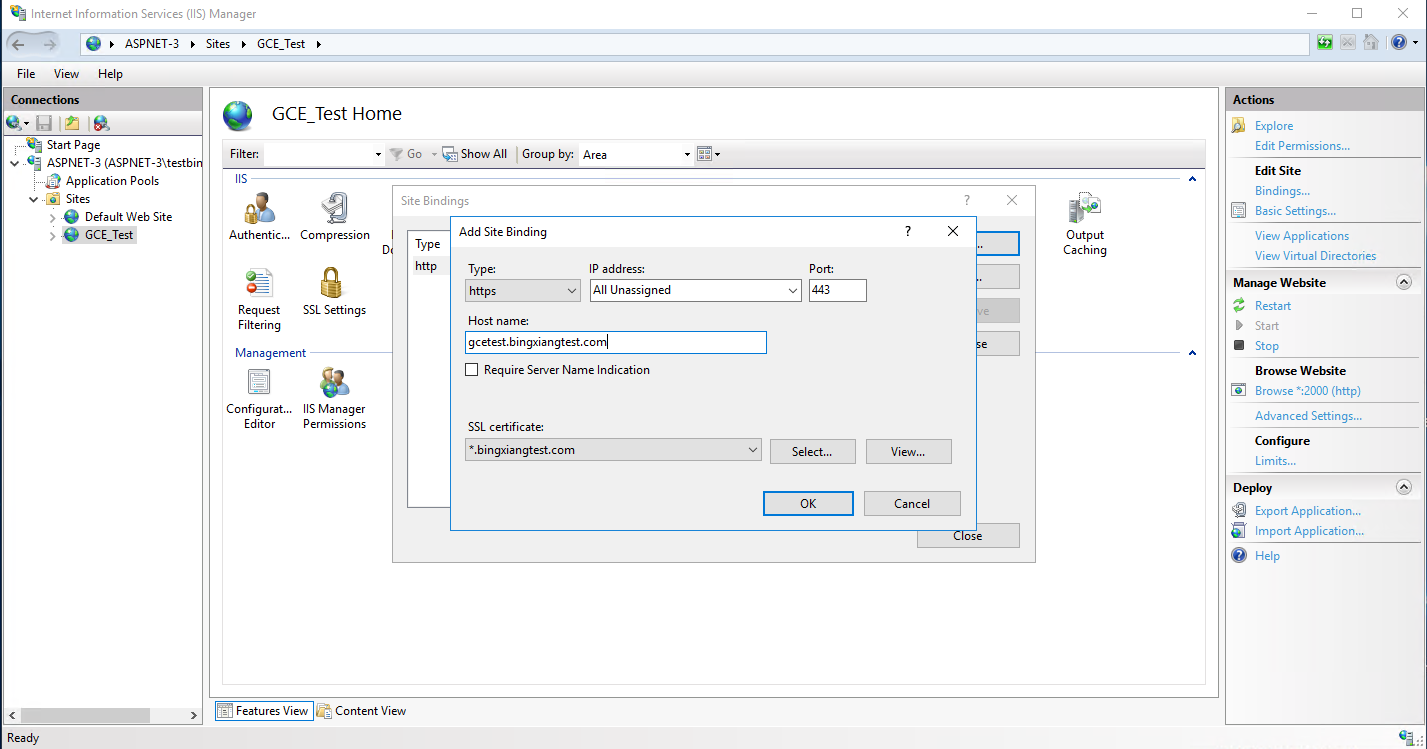
若出現 A specified logon session does not exist. …的錯誤 則以第五步驟匯入憑證
- 改以 windows certlm 匯入憑證
windows + R 執行 certlm.msc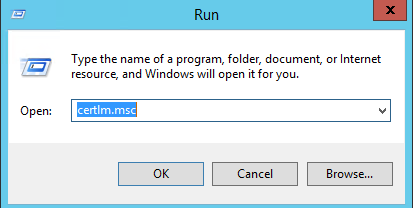
Personal -> Certificates -> All Tasks -> Import…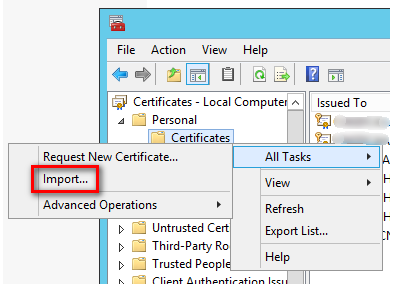
再匯入剛剛的相同的.pfx憑證即可在IIS 綁定SSL
轉載請註明來源,若有任何錯誤或表達不清楚的地方,歡迎在下方評論區留言,也可以來信至 leozheng0621@gmail.com
如果文章對您有幫助,歡迎斗內(donate),請我喝杯咖啡

