前言
Octopus Deploy 是一款自動化佈署工具,可參考Octopus 官網
有分雲端(Octopus Cloud) & 地端(Self-Hosted Octopus) 兩種服務,價格分別不同,目前有免費方案 可參考官網
Octopus 官方文件 - 雲端服務價格
Octopus 官方文件 - 地端服務價格
功能介紹
Octopus Deploy 建立一台 Octopus Server 負責佈署至各環境機器,先由該台 Server 與要佈署的機器建立連線
當CI工具 (ex: Jenkins or Azure Devops Pipeline …等) 將程式碼編譯後打包至 Ocotpus 後
Octopus 會自行建立Release版本,以便佈署到各台機器上
支援的 CI 工具文件說明 Build server support
官網有很詳細的教學,並且也整合了很多工具和雲服務 Build a tutorial for your CI/CD stack
假設程式以 .Net 開發,透過 Azure Devops 編譯版本,再由 Octopus Deploy 到各機器的IIS。流程可參考下圖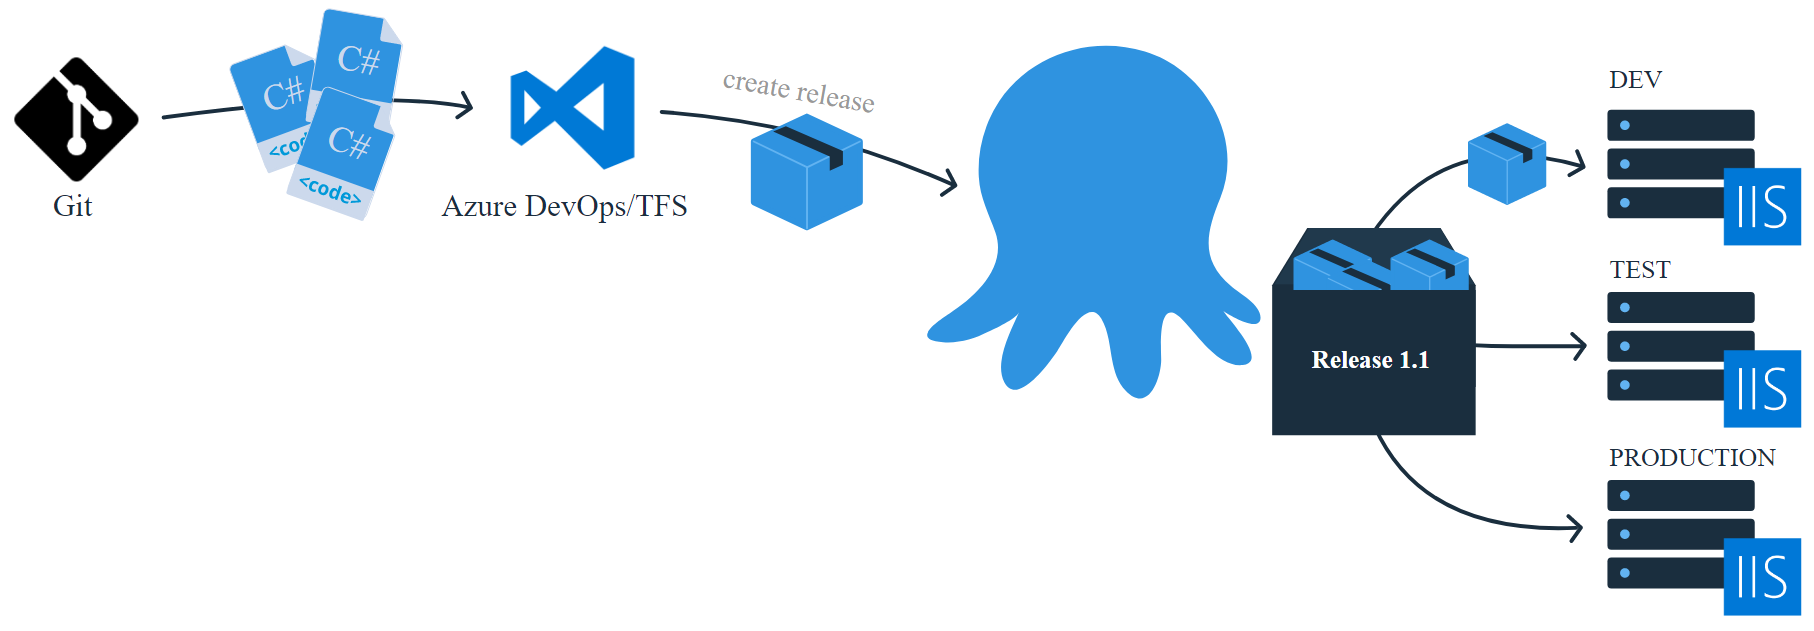
建立 Octopus Deploy 帳號
至官網註冊帳號 https://octopus.com/
建立 Octopus Server License
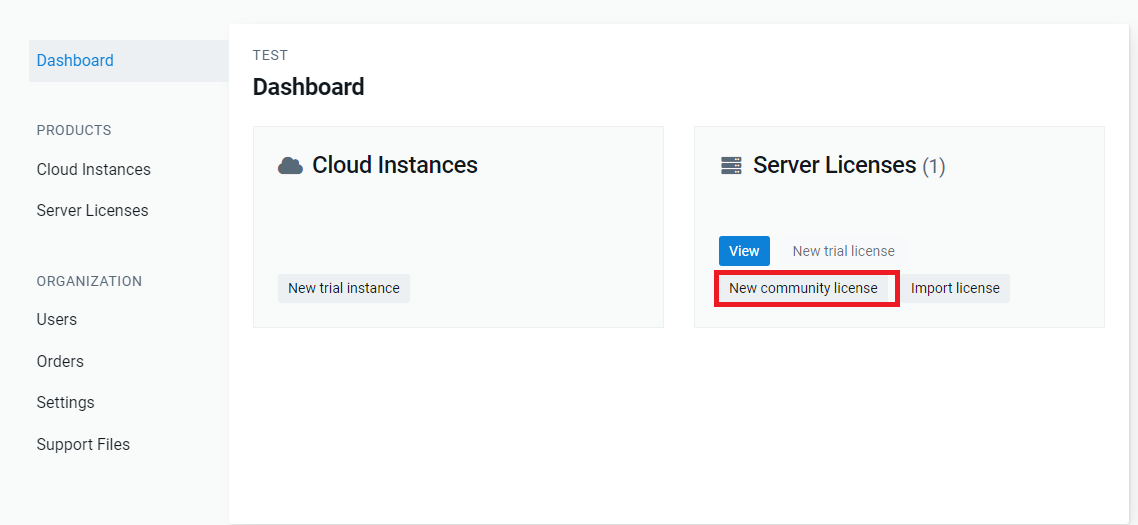
Octopus Server Community 為免費License一年的使用期限
但有限制功能 如圖所示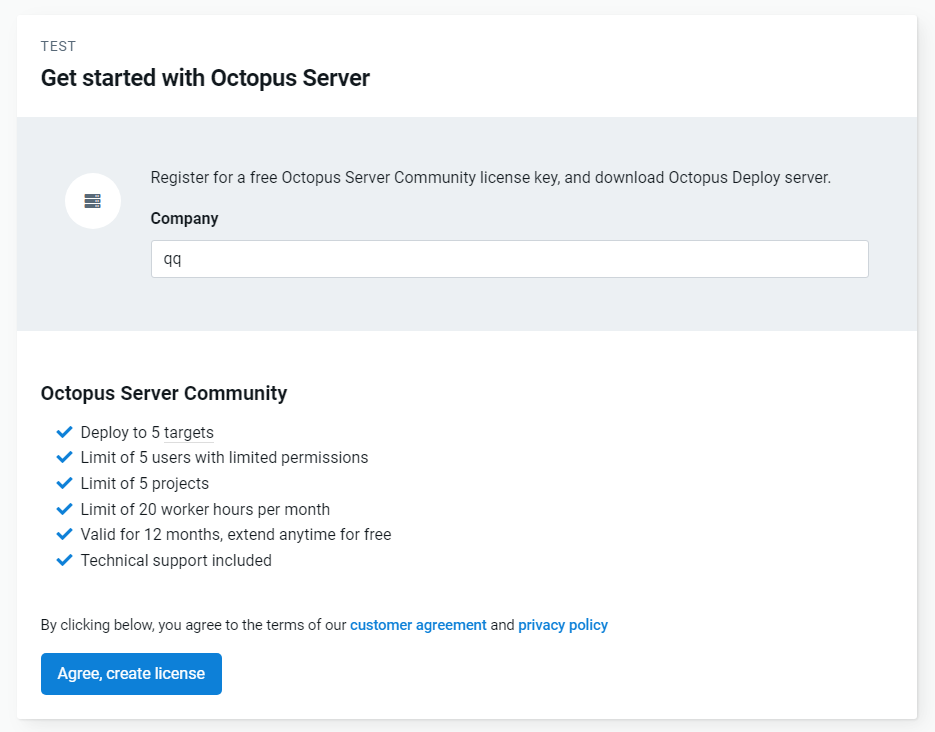
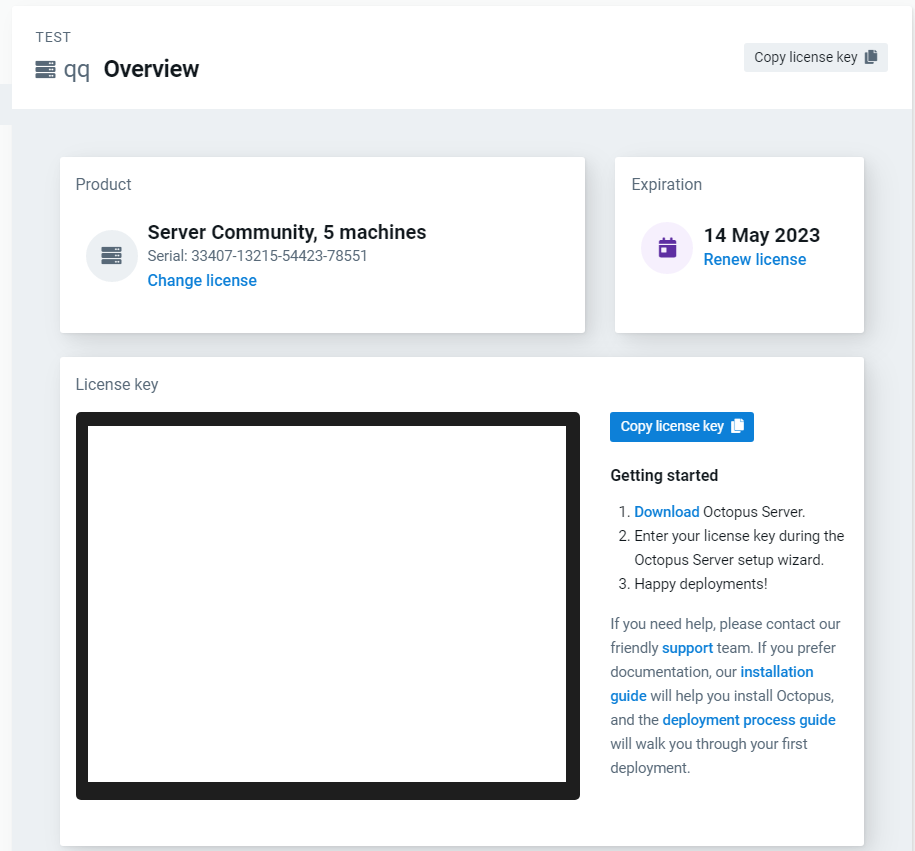
建立 Octopus Server 機器環境
Octopus Server 機器配備 可參考 Installation requirements
先建立GCP VM 作範例機器
gcloud compute instances create octopus-server \
    --async \
    --boot-disk-size 200GB \
    --can-ip-forward \
    --image-family windows-2019 \
    --image-project windows-cloud \
    --machine-type e2-standard-2 \
    --scopes compute-rw,storage-ro,service-management,service-control,logging-write,monitoring \
    --zone asia-east1-a \
    --tags octopus-server
將臨時外部IP 提升成永久靜態IP
gcloud compute addresses create octopus-server-ip --addresses=35.201.217.xxx --region=asia-east1
防火牆 開啟 80 Port (用以外網連接 octopus server)
gcloud compute firewall-rules create octopus-server-80 --direction=INGRESS --priority=1000 --network=default --action=ALLOW --rules=tcp:80 --source-ranges=0.0.0.0/0 --target-tags=octopus-server
安裝 Octopus Server
先至官網下載 Download Octopus Server 當下安裝的版本為 Version 2022.1.2584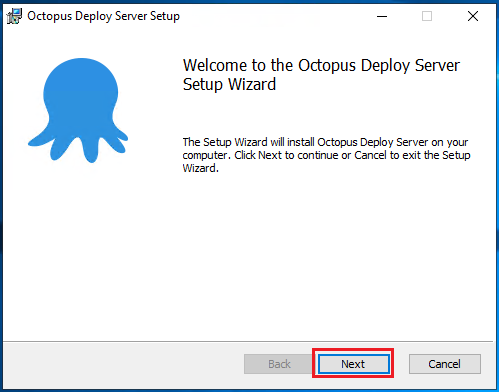
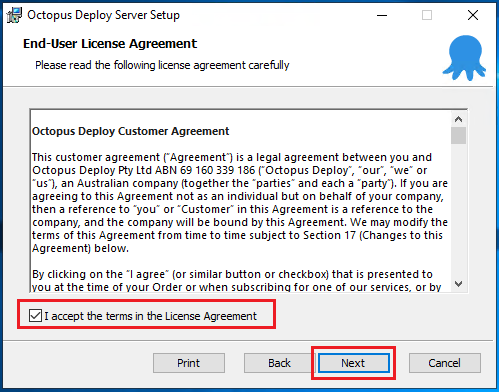
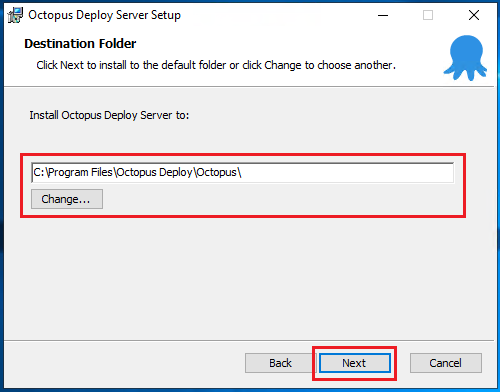
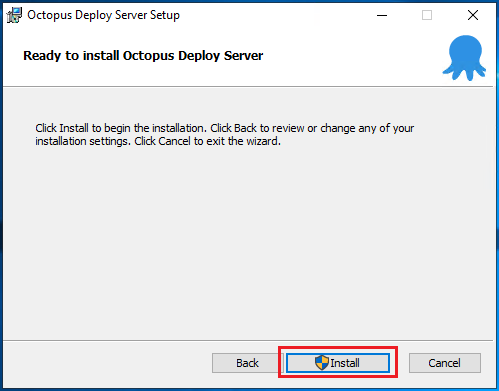
等待安裝…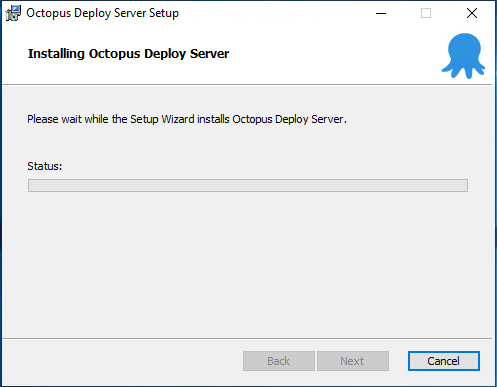
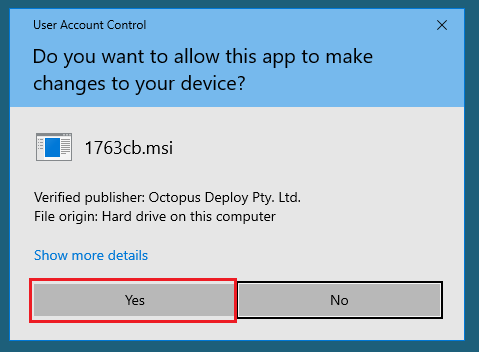
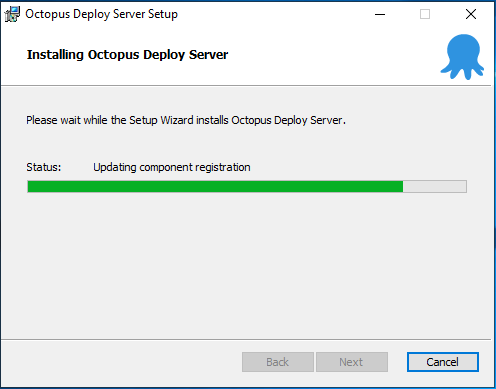
約1、2分鐘後 安裝成功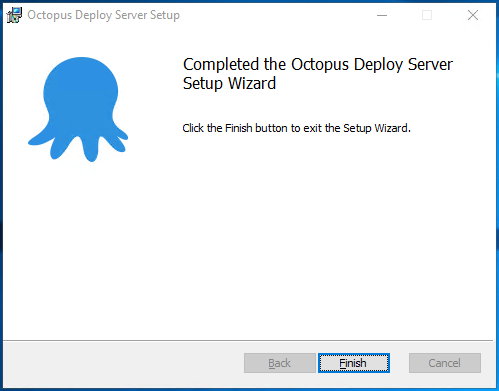
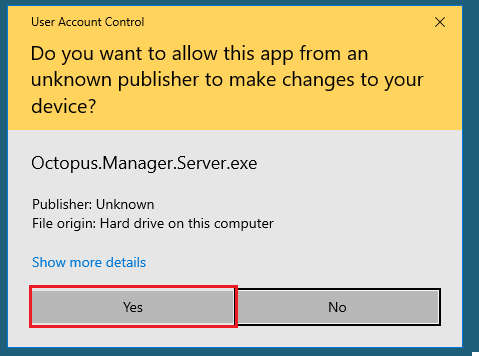
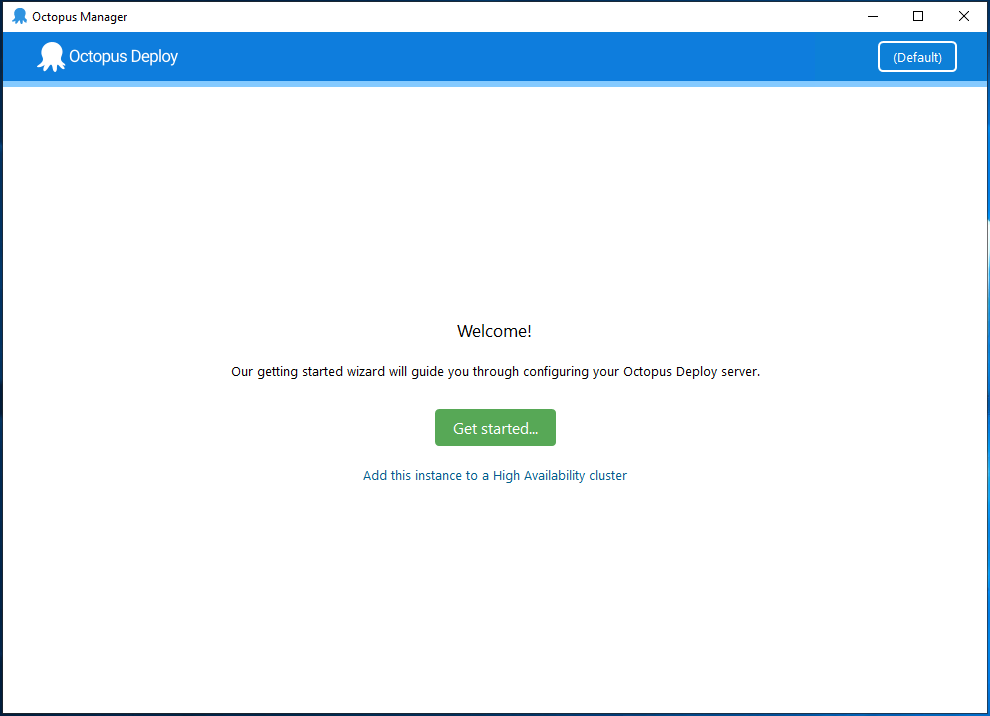
到目前為止 已順利安裝 Octopus Server 下一篇 w4560000 - Octopus Deploy [2] 設定 Octopus Server 開始設定 Octopus Server
轉載請註明來源,若有任何錯誤或表達不清楚的地方,歡迎在下方評論區留言,也可以來信至 leozheng0621@gmail.com
如果文章對您有幫助,歡迎斗內(donate),請我喝杯咖啡

