前言
繼上一篇w4560000 - Octopus Deploy [3] Octopus Server 基礎設定 設定到一半
本篇建立兩台 Windows 機器 Develop、QC 分別當作開發環境、測試環境機器
並 設定 Octopus Tentacle 用以連接 Octopus Server
建立佈署機器
建立 develop、qc 的佈署機器
gcloud compute instances create octopus-client-develop \
    --async \
    --boot-disk-size 200GB \
    --can-ip-forward \
    --image-family windows-2019 \
    --image-project windows-cloud \
    --machine-type e2-standard-2 \
    --scopes compute-rw,storage-ro,service-management,service-control,logging-write,monitoring \
    --zone asia-east1-a \
    --tags octopus-client,octopus-client-develop

gcloud compute instances create octopus-client-qc \
    --async \
    --boot-disk-size 200GB \
    --can-ip-forward \
    --image-family windows-2019 \
    --image-project windows-cloud \
    --machine-type e2-standard-2 \
    --scopes compute-rw,storage-ro,service-management,service-control,logging-write,monitoring \
    --zone asia-east1-a \
    --tags octopus-client,octopus-client-qc
將臨時外部IP 提升成永久靜態IP
gcloud compute addresses create octopus-client-develop-ip --addresses=34.81.245.172 --region=asia-east1
gcloud compute addresses create octopus-client-qc-ip --addresses=34.81.246.237 --region=asia-east1
先開啟防火牆 10933 (Octopus Tentacle 對外使用)
gcloud compute firewall-rules create octopus-client-10933 --direction=INGRESS --priority=1000 --network=default --action=ALLOW --rules=tcp:10933 --source-ranges=0.0.0.0/0 --target-tags=octopus-client
安裝章魚觸手
develop、qc 機器以下安裝步驟相同
先至Octopus 官方文件 - Download Octopus Tentacle下載
當下安裝的版本為 Octopus.Tentacle.6.1.1419-x64.msi
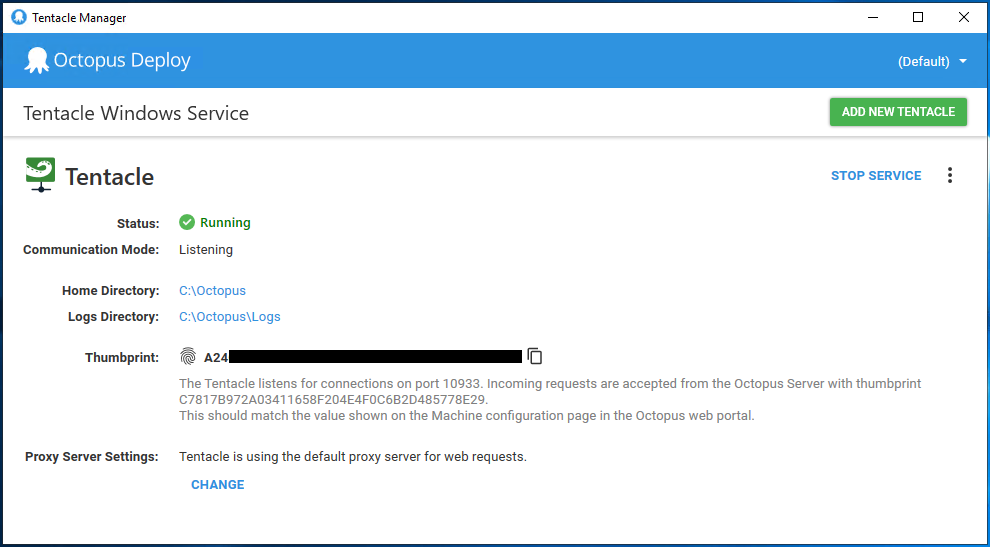
安裝完成後 開啟 Octopus Tentacle Manager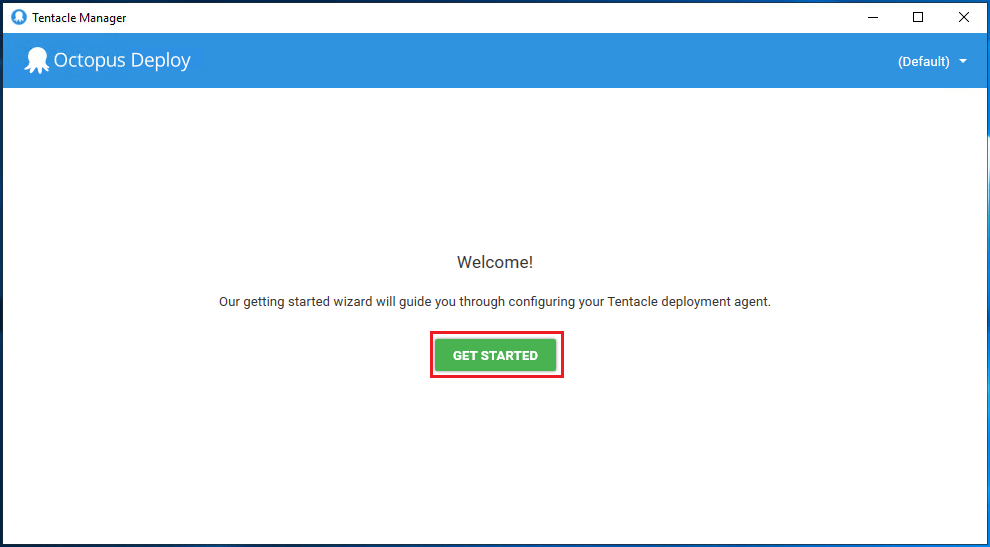
選擇 Listening Tentacle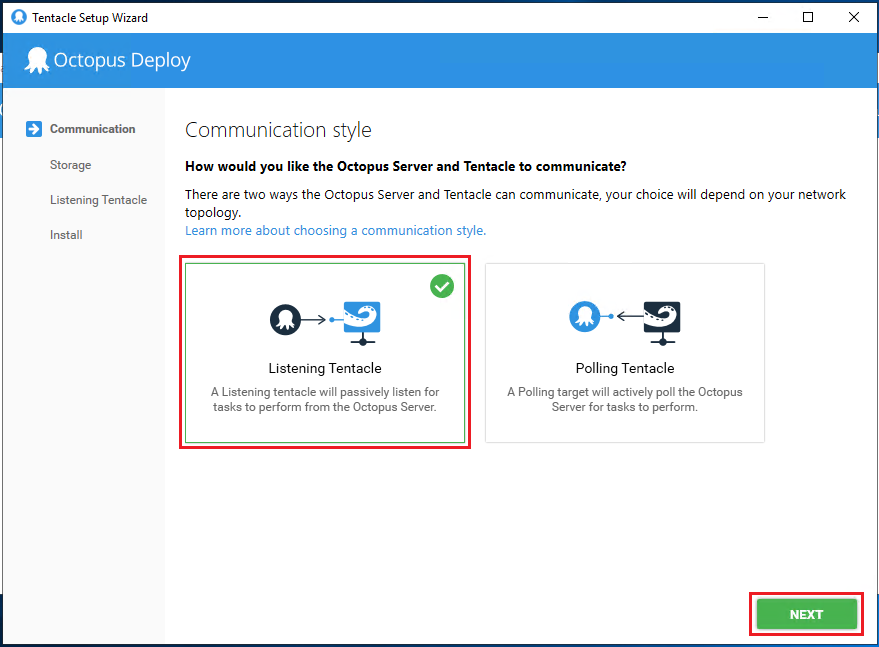
設定路徑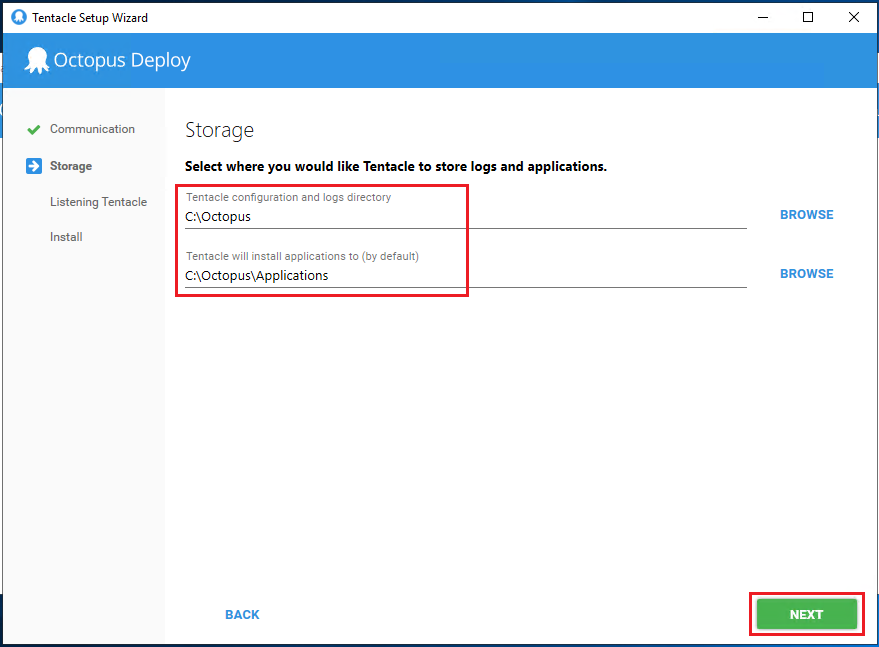
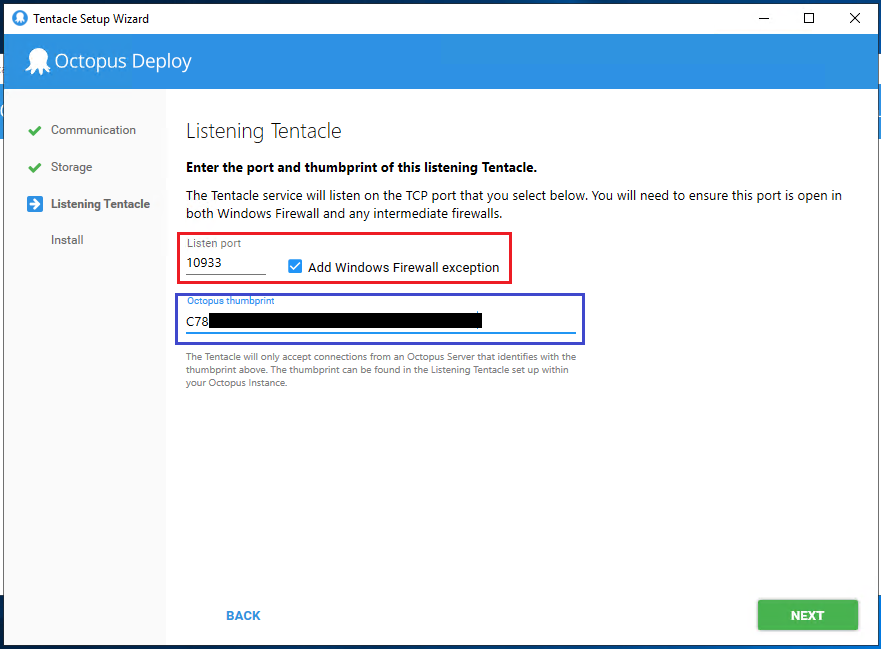
確認 Port號
藍框 需要填入 Octopus Server 的 Thumbprint
安裝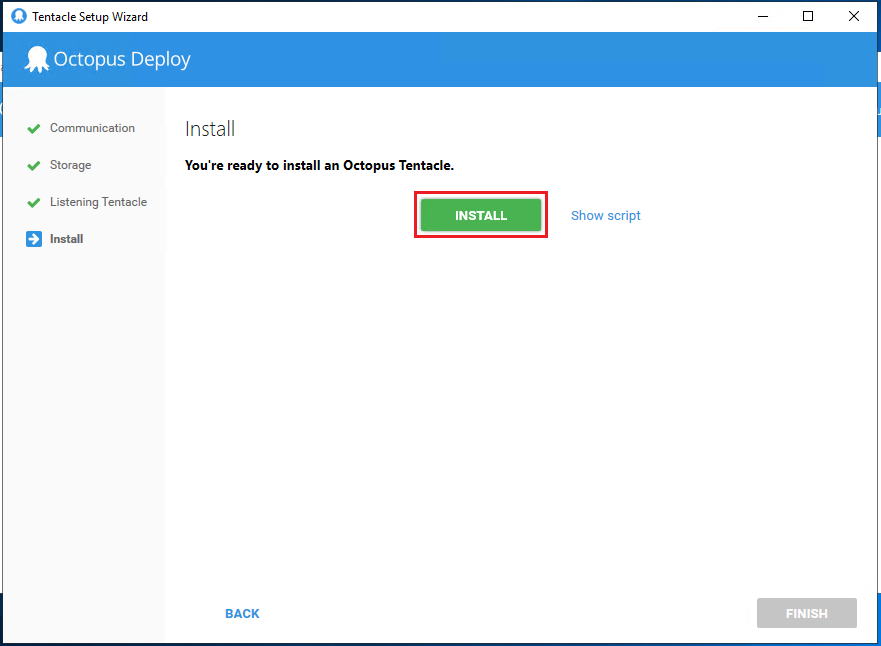
安裝成功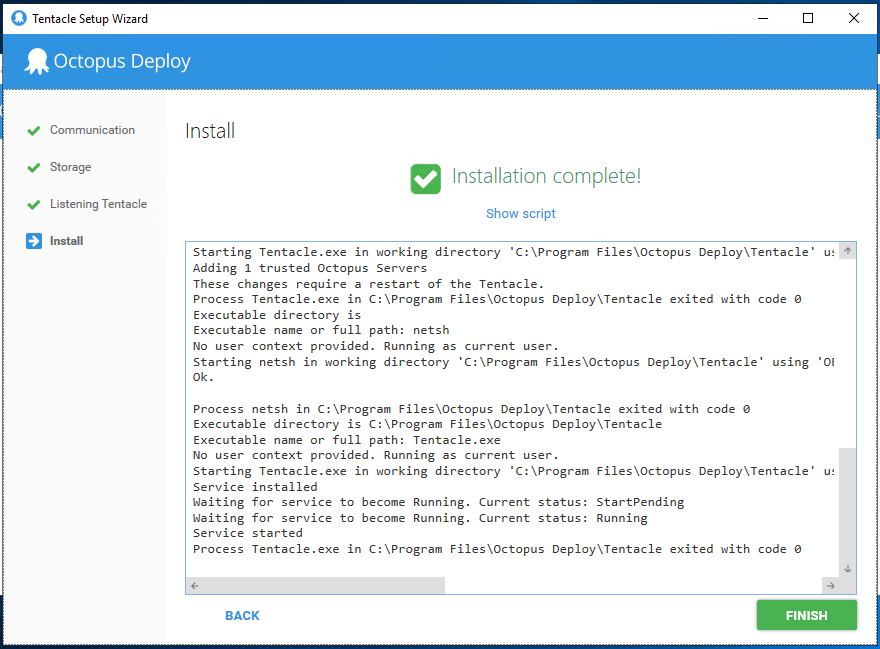
安裝 IIS
參考 w4560000 - PowerShell 安裝 IIS
設定完成後返回上一篇繼續設定 Deployment Targets w4560000 - Octopus Deploy [3] Octopus Server 基礎設定
轉載請註明來源,若有任何錯誤或表達不清楚的地方,歡迎在下方評論區留言,也可以來信至 leozheng0621@gmail.com
如果文章對您有幫助,歡迎斗內(donate),請我喝杯咖啡

