前言
目前 Octopus Server & Octopus Client 機器 都已安裝並設定成功
本篇實作部署 .Net Framework 4.7.2 的 ASP.NET MVC 專案
CI/CD 流程為
ASP.NET MVC 專案 可參考 w4560000/OctopusProject_Sample
=> Github
=> Azure Devops Pipeline
=> Octopus Deploy
開發工具: VS 2019
建立 ASP.NET MVC 專案 加入 Git 版控 並上傳至 Github
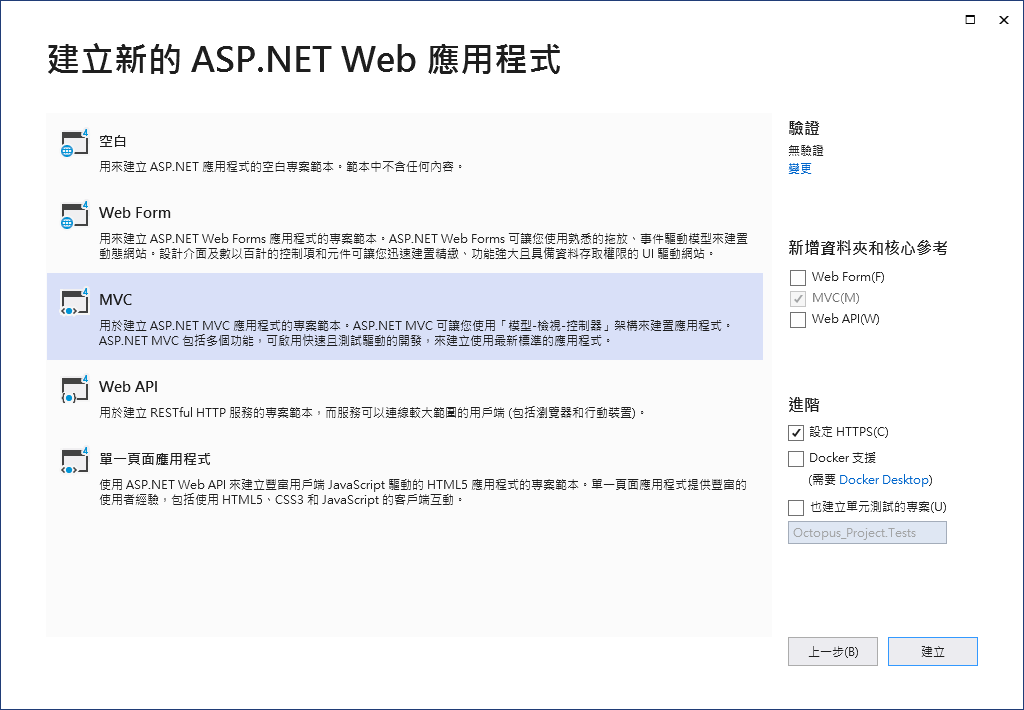
建立專案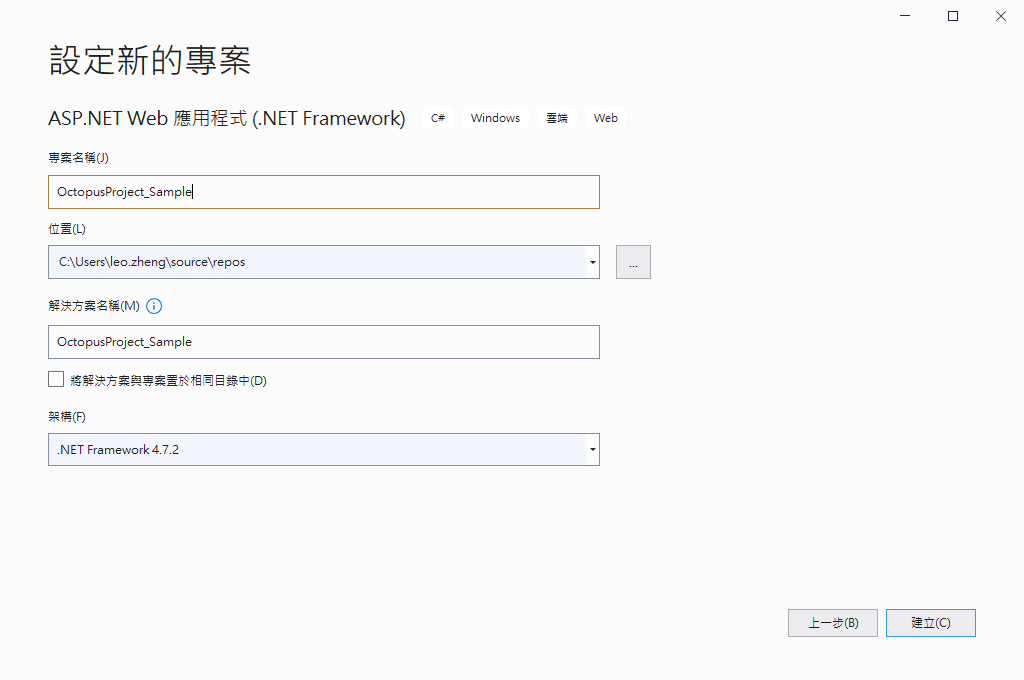
安裝 Octopus 套件
Install-Package OctoPack -Version 3.6.5
建立 Git 版控
透過 Visual Studio 可快速將儲存庫推送至 Github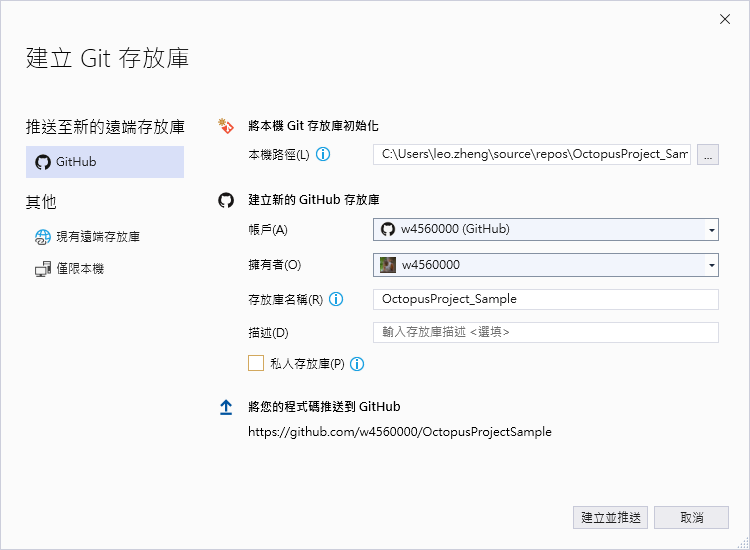
建立 Octopus Server API Key
用以串接 Azure Devops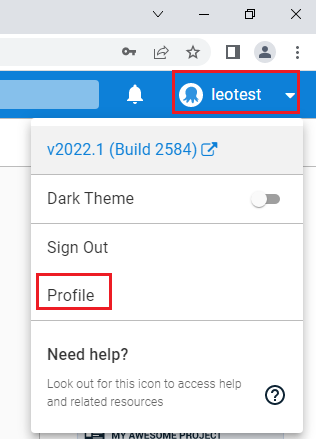
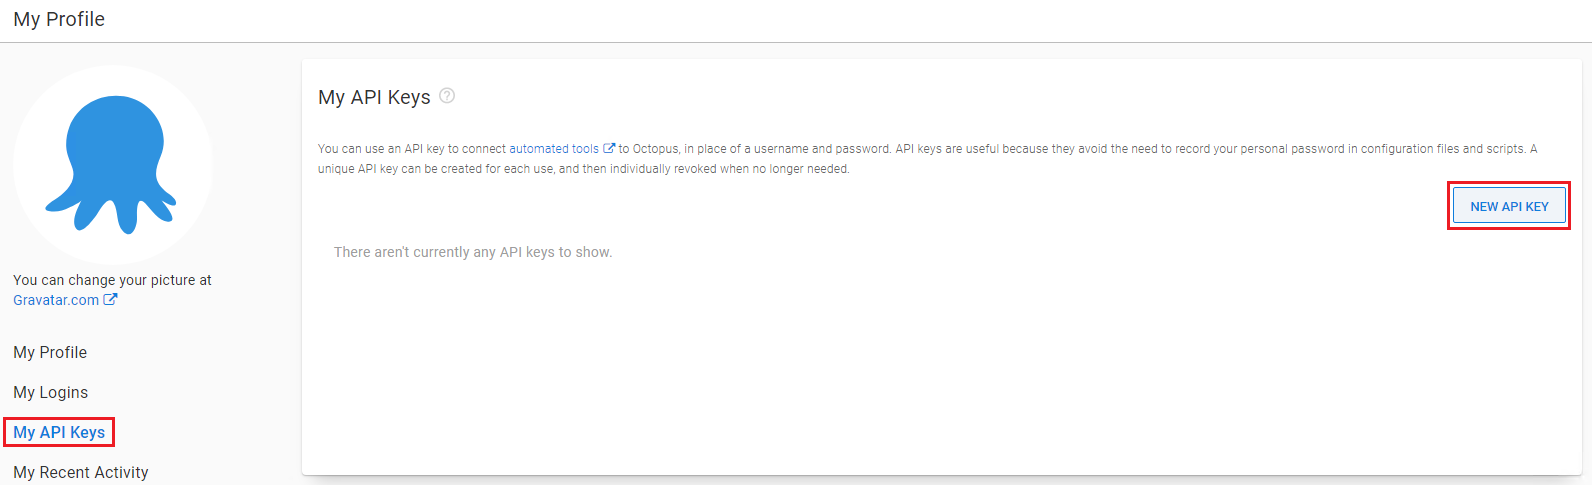
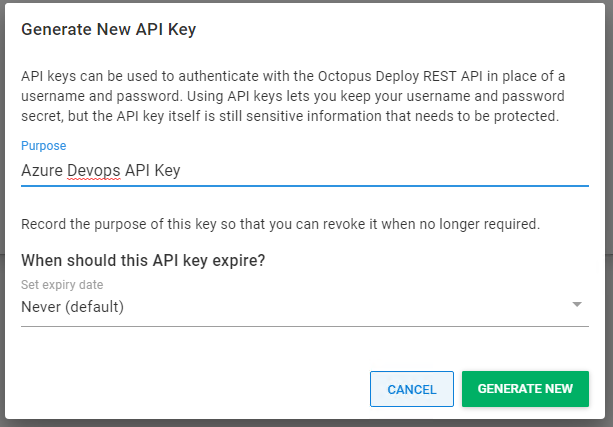
記下 API Key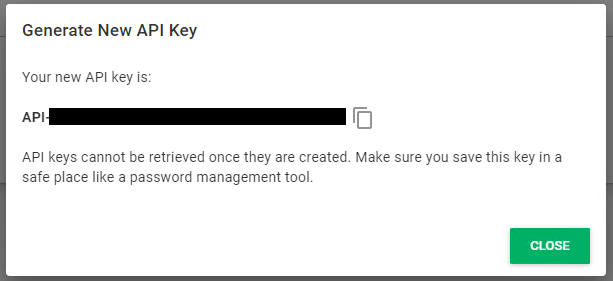
設定 Octopus Deployment Process
參考 w4560000 - Octopus Deploy 設定 .Net MVC 專案 Deployment Process
設定 Azure Devops Pipeline
安裝 Octopus Deploy Integration 的 Azure Devops Pipeline 擴充工具
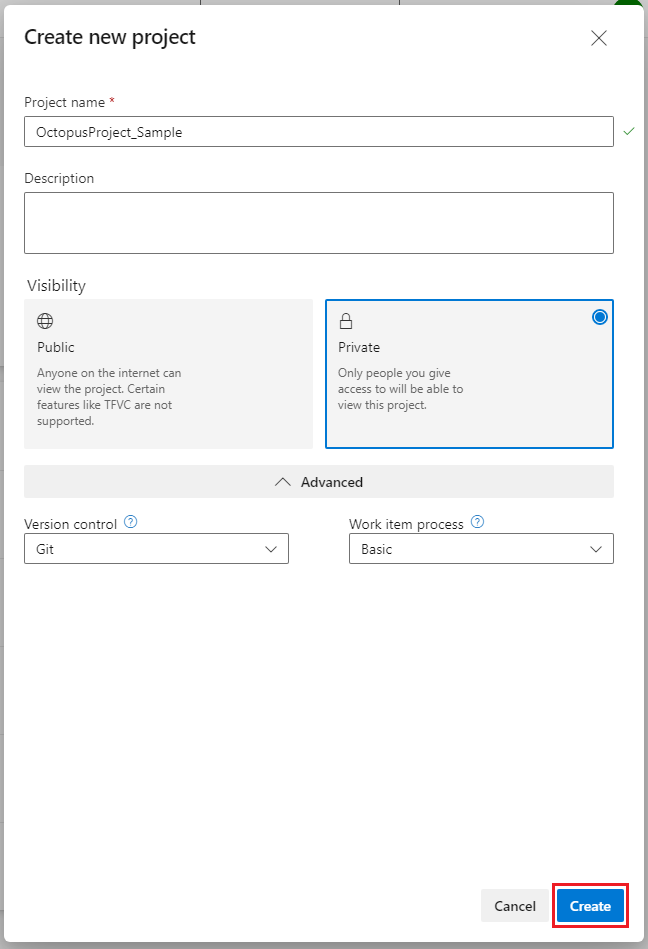
先建立專案 (若已有專案 可略過)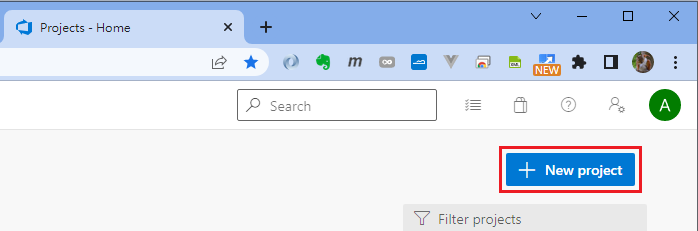
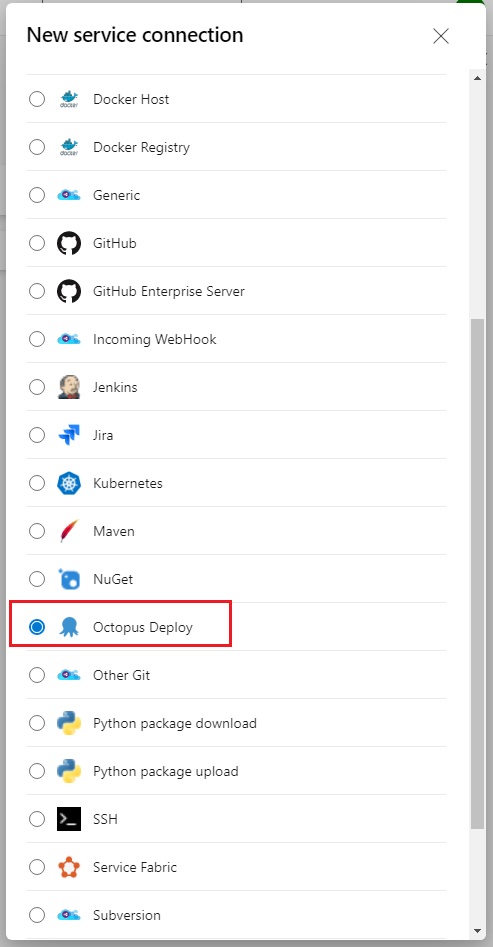
與章魚建立連線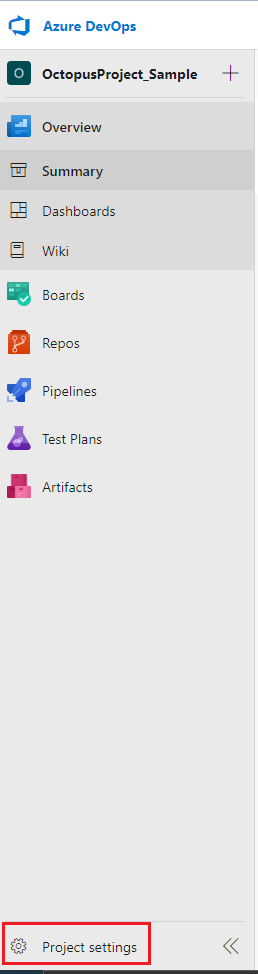

複製剛剛在 octopus server 建的 API Key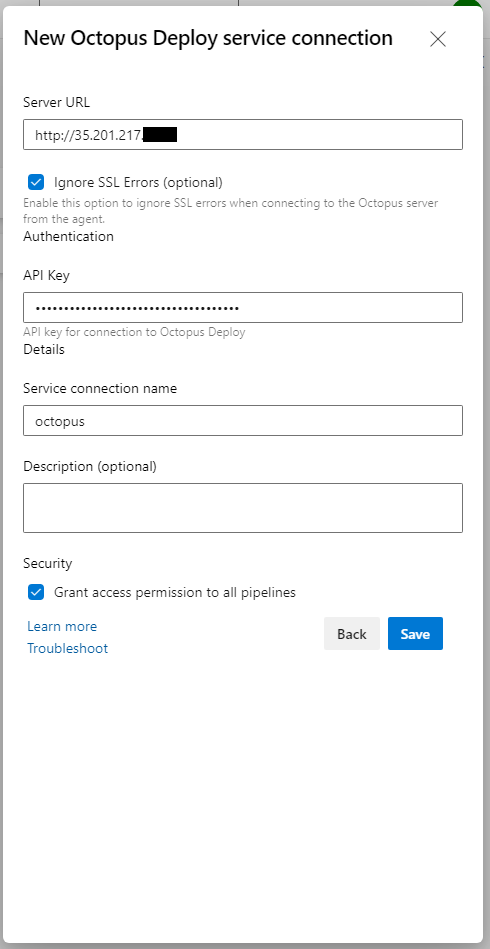
接著建立 Pipeline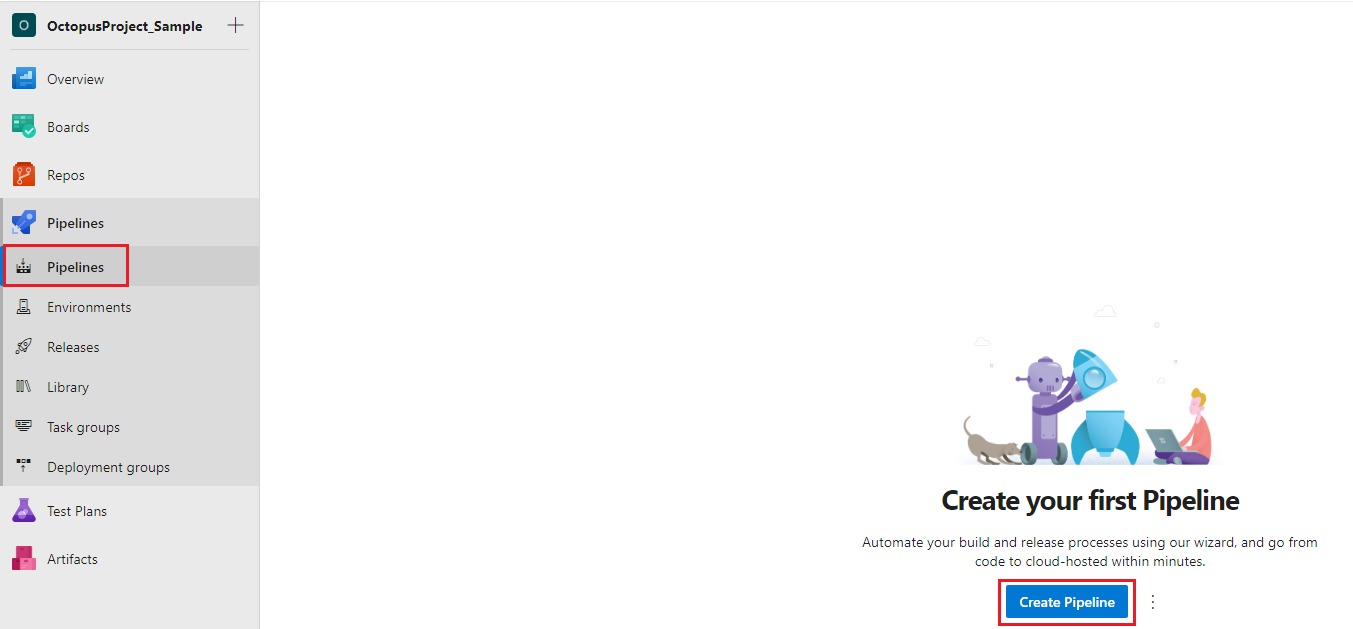
選擇 Github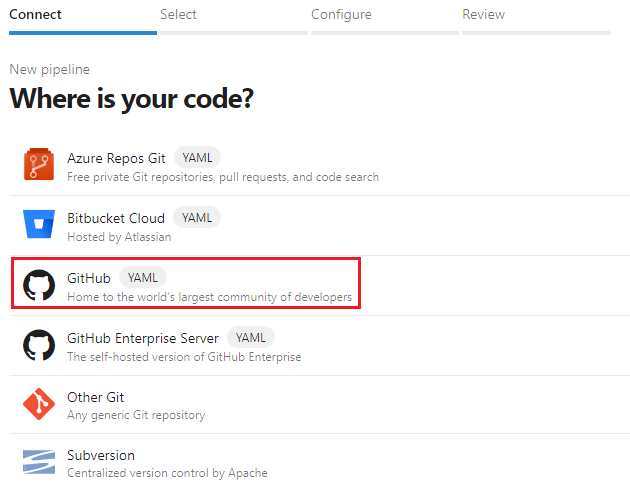
選擇儲存庫
選擇 預設的 ASP.NET Pipeline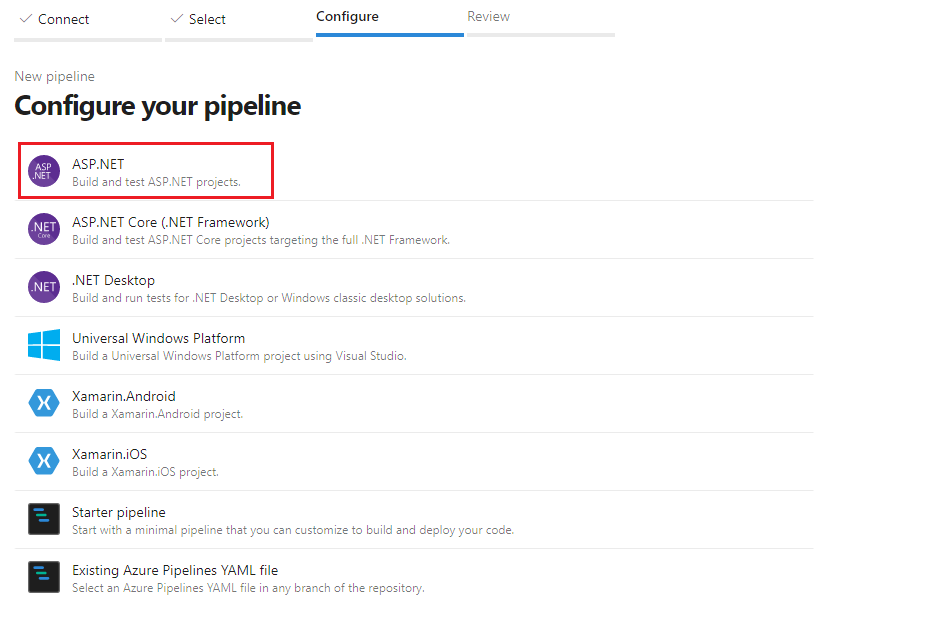
調整 azure-pipelines.yml
# ASP.NET
# Build and test ASP.NET projects.
# Add steps that publish symbols, save build artifacts, deploy, and more:
# https://docs.microsoft.com/azure/devops/pipelines/apps/aspnet/build-aspnet-4

name: $(Date:yyyyMMdd)$(Rev:.r)

trigger:
- qc
- develop

pool:
  vmImage: 'windows-latest'

variables:
  solution: '**/*.sln'
  buildPlatform: 'Any CPU'
  buildConfiguration: 'Release'

steps:
- task: NuGetToolInstaller@1

- task: OctoInstaller@5
  inputs:
    version: '*'

- task: NuGetCommand@2
  inputs:
    restoreSolution: '$(solution)'

- task: MSBuild@1
  inputs:
    solution: '**/*.sln'
    platform: '$(buildPlatform)'
    configuration: '$(buildConfiguration)'
    msbuildArguments: '/t:Build /p:RunOctoPack=true /p:OctoPackPackageVersion=$(Build.BuildNumber) /p:OctoPackEnforceAddingFiles=true'

- task: Bash@3
  displayName: Generate ReleaseNotes
  inputs:
    targetType: inline
    script: |
      git log -1 > ReleaseNotes.txt
- task: OctopusPush@5
  inputs:
    OctoConnectedServiceName: 'octopus'
    Space: 'Spaces-1'
    Package: '$(System.TeamProject)\obj\octopacked\$(System.TeamProject).$(Build.BuildNumber).nupkg'
    Replace: 'false'

- task: OctopusCreateRelease@5
  inputs:
    OctoConnectedServiceName: 'octopus'
    Space: 'Spaces-1'
    ProjectGroup: 'Web'
    ProjectName: '$(System.TeamProject)'
    ReleaseNumber: '$(Build.BuildNumber)'
    Channel: '$(Build.SourceBranchName)'
    AdditionalArguments: '--releaseNoteFile=ReleaseNotes.txt'
測試 azure pipeline
因目前 azure pipeline 設定為 trigger qc、develop 兩個 git 分支,並分別推到 octopus 的 qc、develop Channel
先在 git 儲存庫建立 qc、develop 看一下 CI 功能是否正常
分別建立 qc、develop分支並推送到遠端
git branch qc
git push origin qc

git branch develop
git push origin develop
20220520.17 是在調整 azure-pipelines.yml 的測試版本 可忽略不看
可以發現
develop 分支有異動 => azure pipeline CI 版本至 octopus develop Channel
qc 分支有異動 => azure pipeline CI 版本至 octopus qc Channel
查看 azure pipeline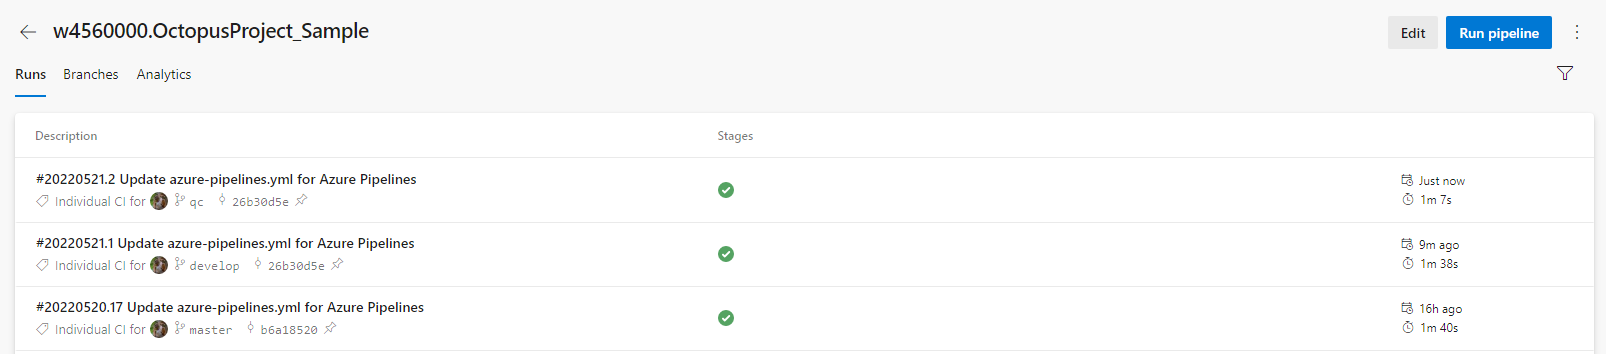
查看 octopus releases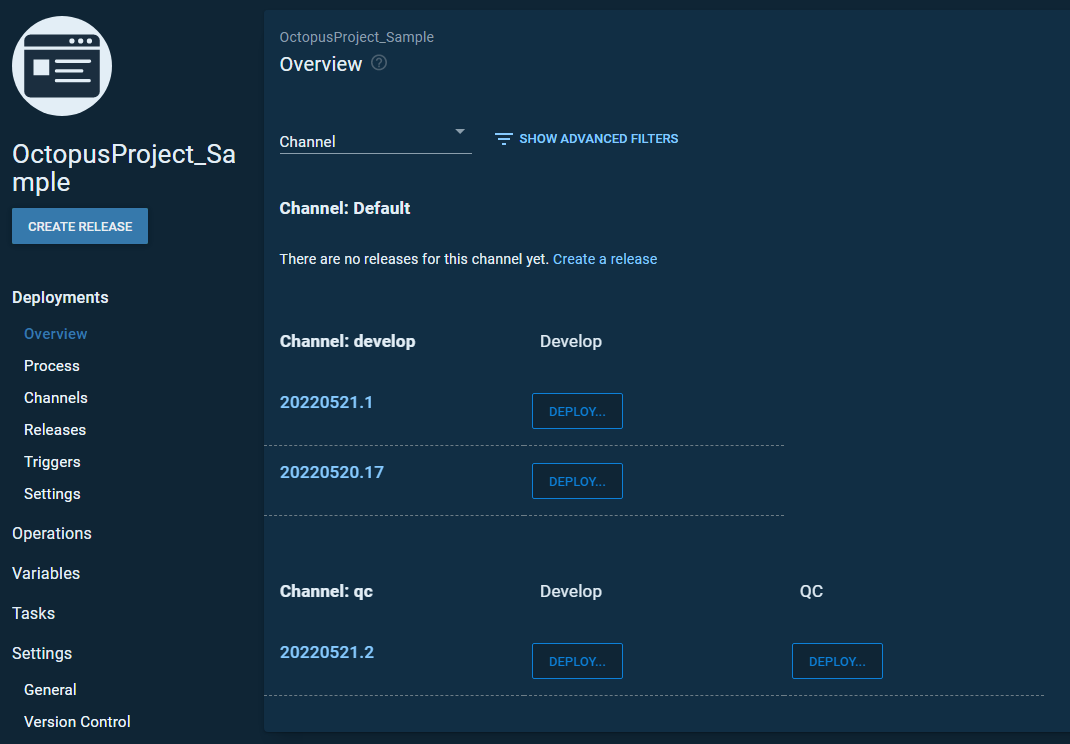
測試 Octopus 部署 Releases 至機器
部署 qc 做測試
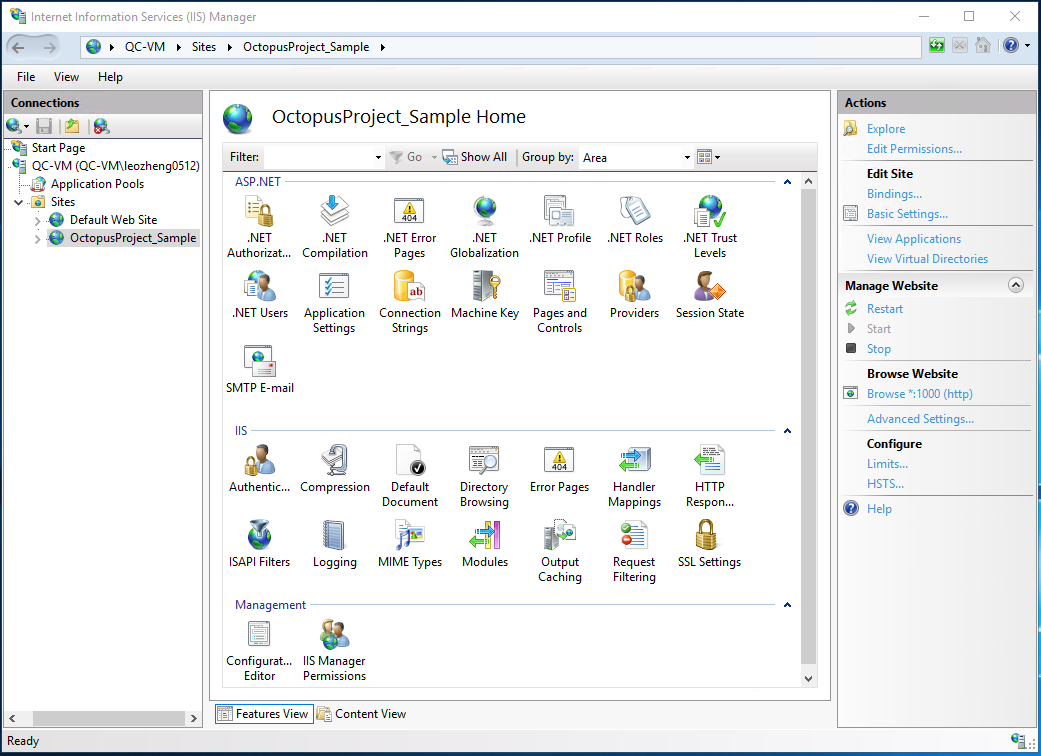
部署前 qc機器上 IIS 站台沒有 OctopusProject_Sample 站台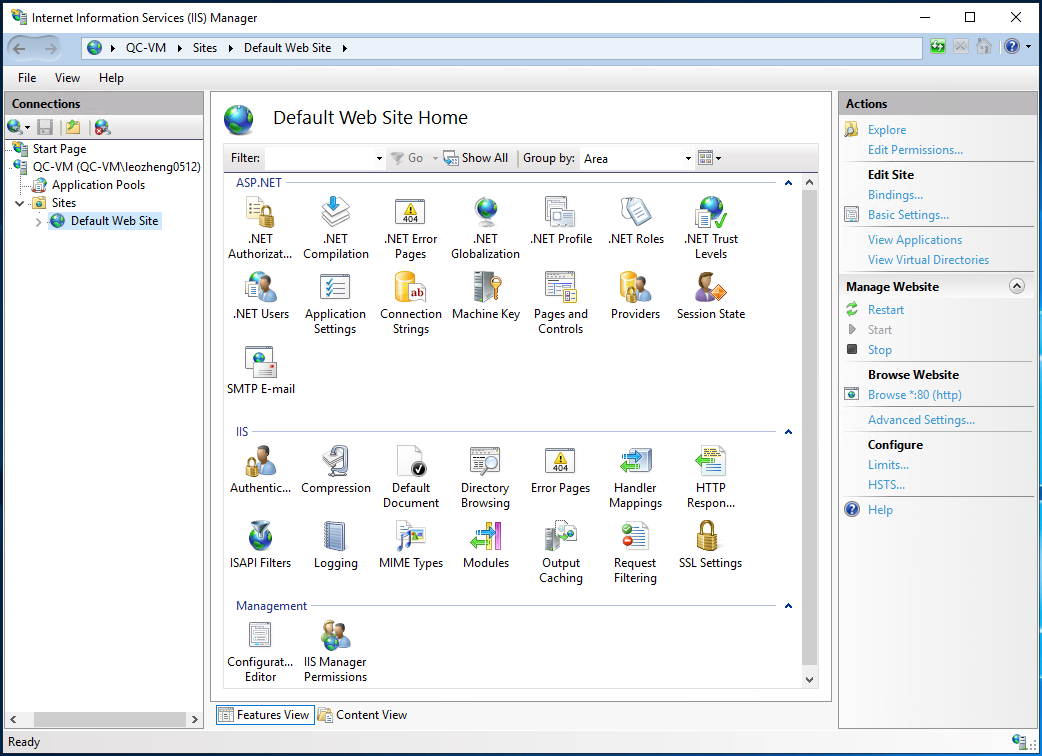
手動點擊 QC 的 release 版本做部署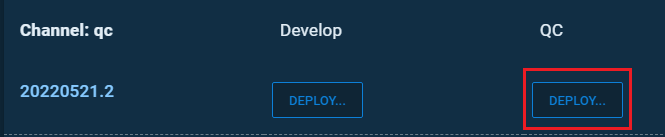

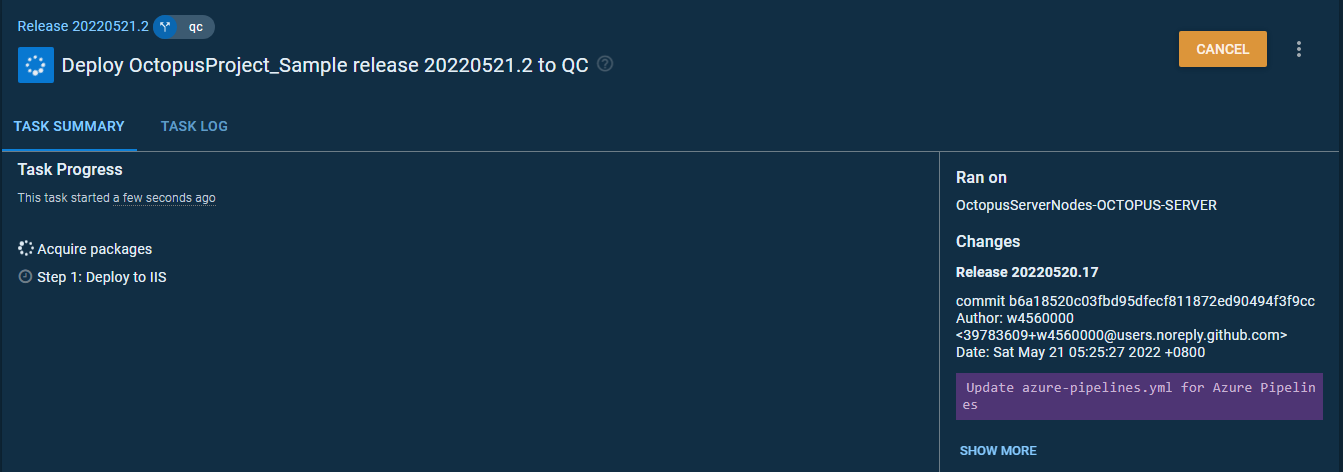
部署中
旁邊有 git 的 commit 版本資訊 是因為 Azure Pipeline Create Octopus Release 時,有帶入 ReleaseNotes.txt
部署完成
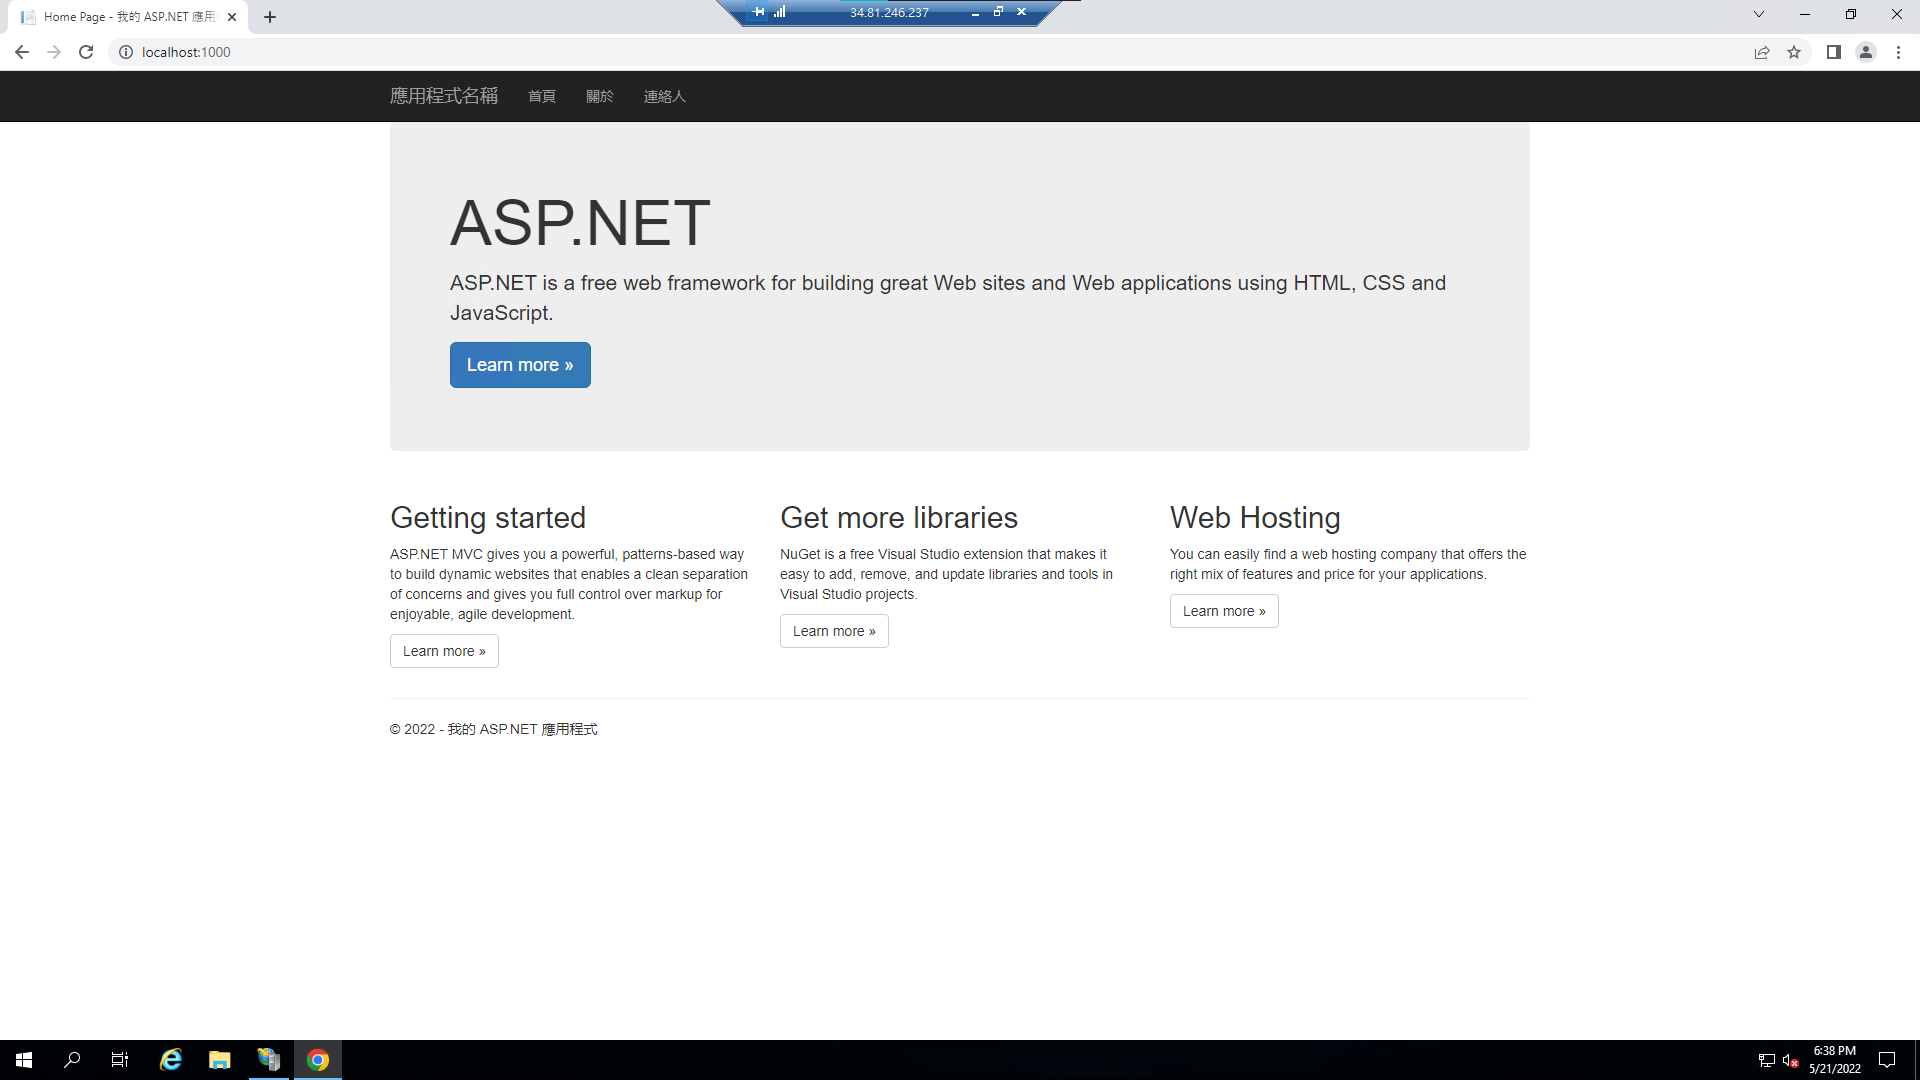
看一下 qc 機器 IIS 站台 確認服務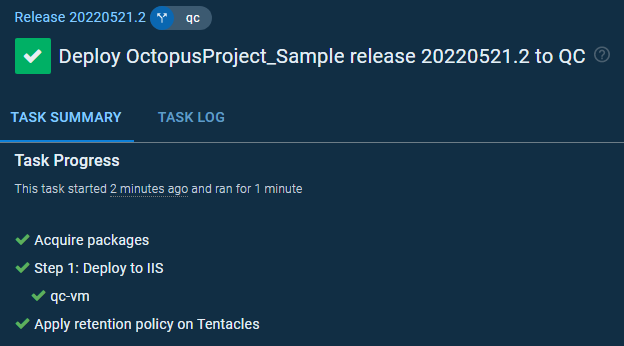
結論
此篇紀錄 從建立 ASP.NET MVC 專案 => 上傳 Github => 設定 Azure Devops Pipeline => 設定 Octopus Deploy 的完整流程
下一篇 紀錄 w4560000 - Octopus Deploy 設定多環境變數
參考資料
轉載請註明來源,若有任何錯誤或表達不清楚的地方,歡迎在下方評論區留言,也可以來信至 leozheng0621@gmail.com
如果文章對您有幫助,歡迎斗內(donate),請我喝杯咖啡

